Advertise here
In this step-by-step tutorial you will learn how to create a sparkly female portrait through playing with transparency and overlapping vector shapes. In this tutorial you’ll also learn to experiment with colors and just letting go of your creativity. Let’s get started!
Tutorial Assets
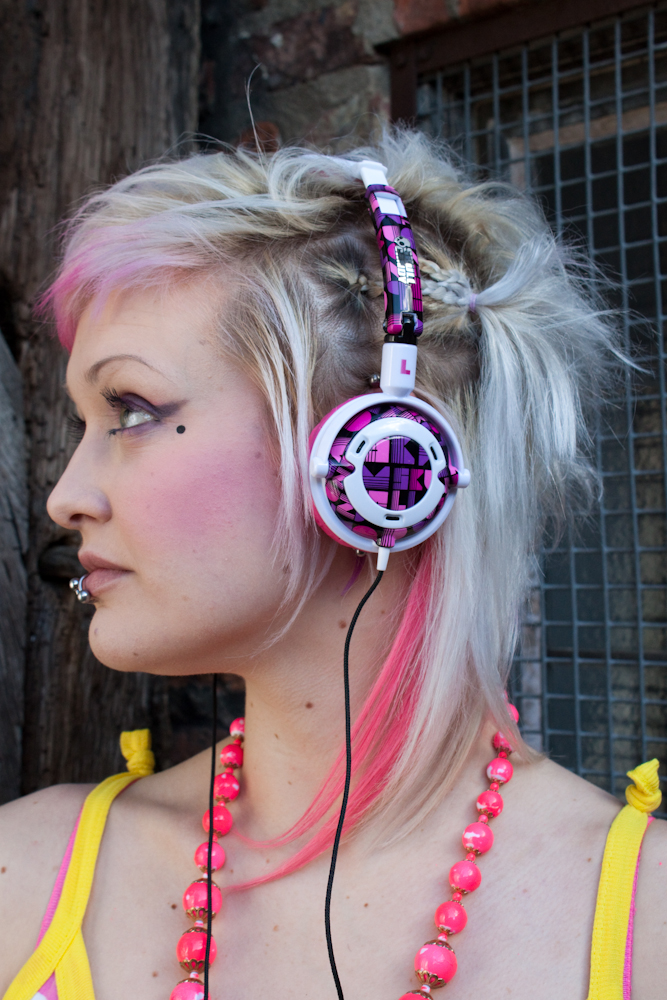
We’ll be using this stock image (provided by Tigg-stock) throughout this tutorial. What we want to achieve in this tutorial is a similar result to my vector illustration, missin___like_candy.
Step 1
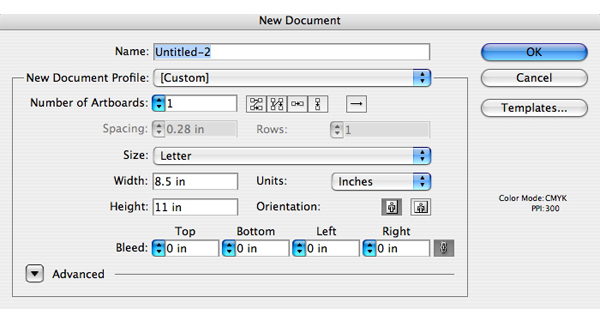
Start by creating a new A4 Print Document, which is 8.5×11 inches. I use this standard size for prints.
Step 2
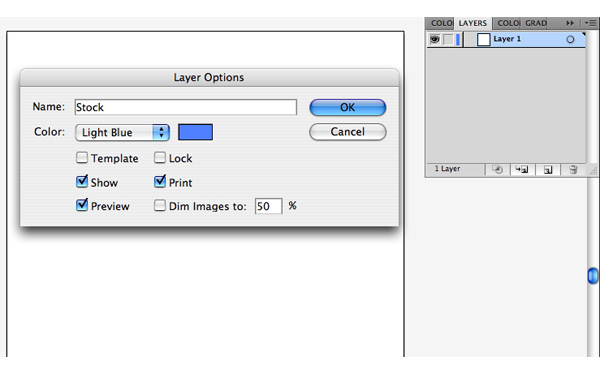
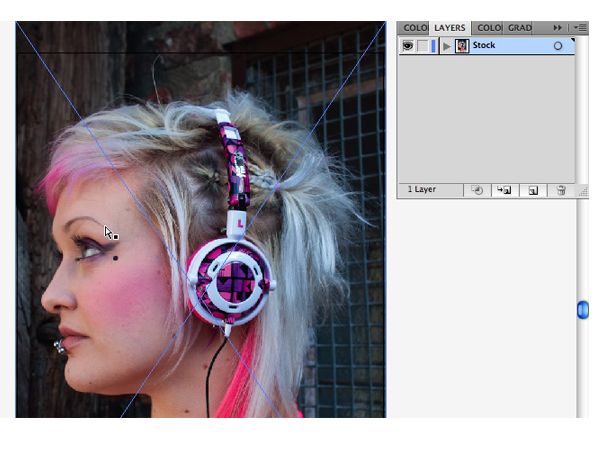
Now select File > Place to bring the stock photo into the background and name the layer “IMAGE.” Remember to put a name on every new layer you make to keep it organized and to avoid confusion.
Step 3
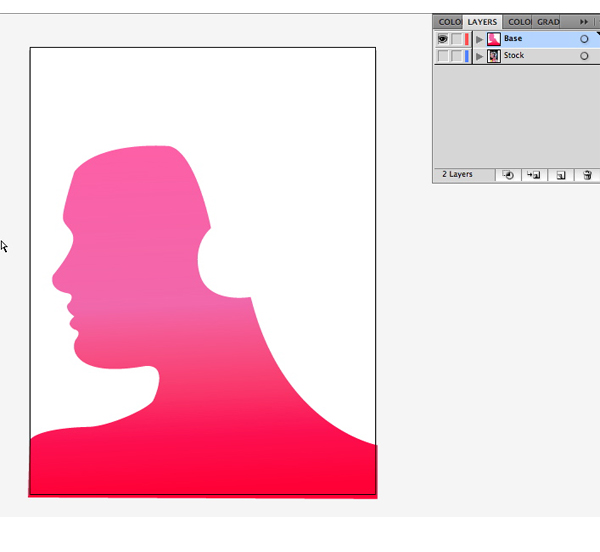
Create a new Layer above the image. Label it “BASE,” as this will be your guide in filling up shapes. Using the Pen Tool (P), start tracing the figure of the image to create a silhouette. Then you may add your desired gradient fill. Throughout the tutorial, you may go back to this layer and make changes with the colors to match with the overlapping vector shapes, which we’ll go through later.
Step 4
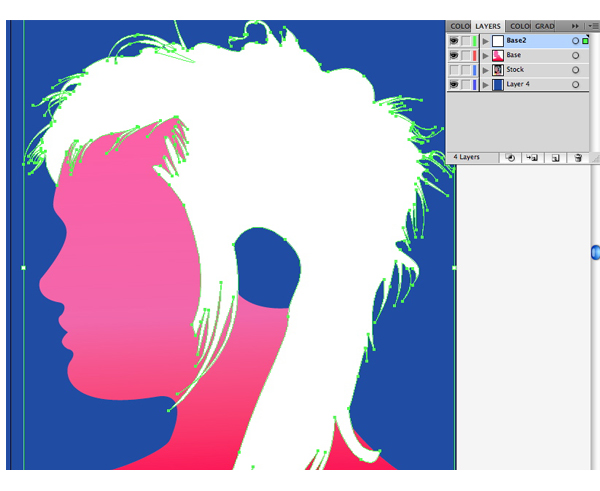
Now create another layer and name it “BASE2.” Start tracing the hair for the base color using the Pen Tool (P). You may also add your desired gradient to create nice effects after we start overlapping the shapes later. Just experiment with it and choose the colors that pleases your eyes.
Step 5
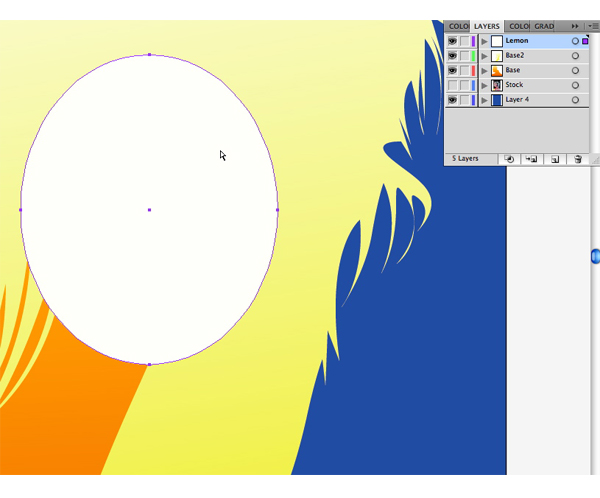
Create another layer and name it “LEMON,” this will be for our headphones. Use the Ellipse Tool (L) to create an oval shape for the side of the headphones.
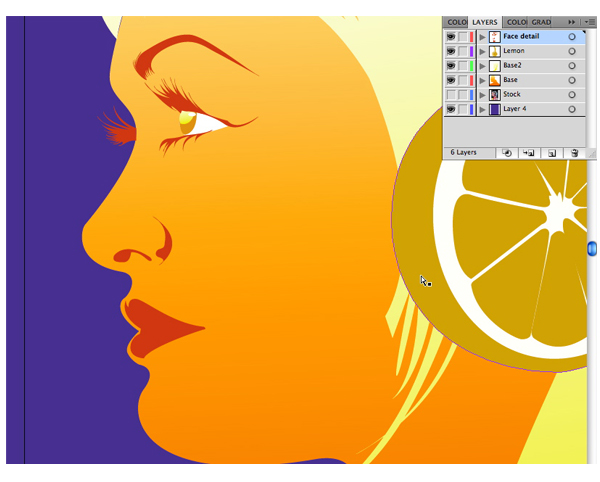
Step 6
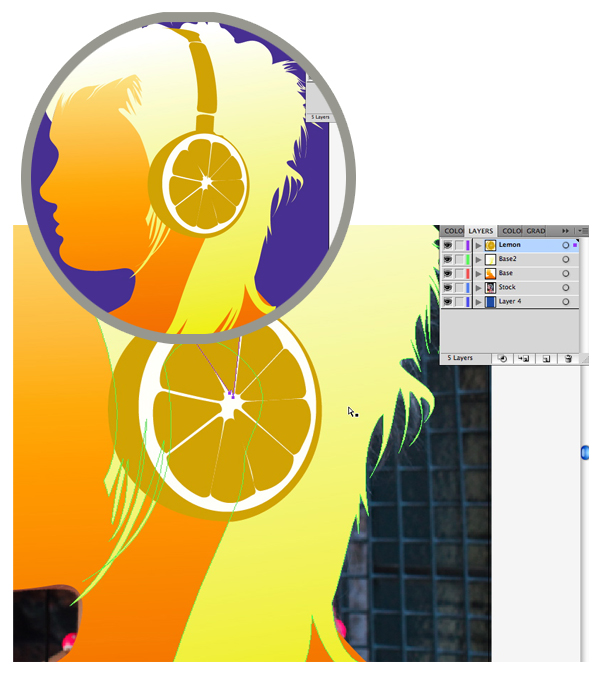
Now we’ll add detail to the headphones. On the same layer create shapes surrounding the oval to make it more like an orange or lemon. Use flat colors first and later you may want to add some gradients to it.
Step 7
Now we’ll start adding details to the face by creating a new layer called “FACE DETAIL.”
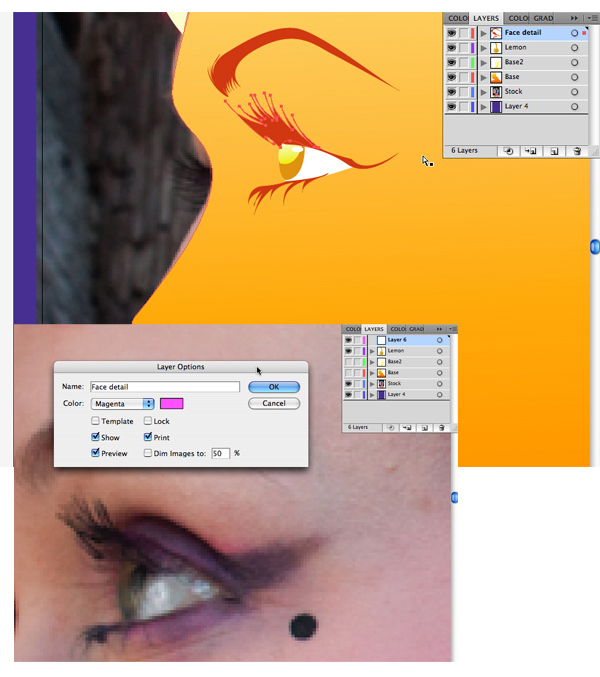
Step 8
Using the Pen Tool, start tracing the eyes and fill it with your desired colors. You can also make the eyelashes longer to give more emphasis to the eyes. Do the same for the nose and the lips. The reason to use your own colors is so you have your own version of this illustration, instead of creating the exact same tutorial image.
Step 9
Now, we are going to add overlapping shapes to our illustration starting with the face. Create a new layer above the “BASE” layer and name it “BASE-detail.” As you can see in the image below, I tried to create random shapes and filled them with different colors. You may select each of the shapes you created and adjust the opacity depending on your desired outcome.
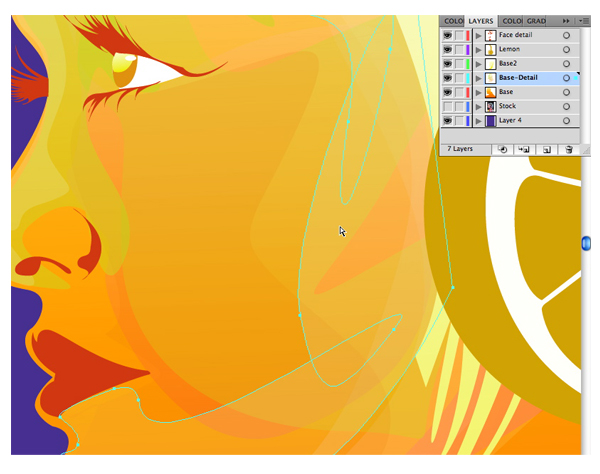
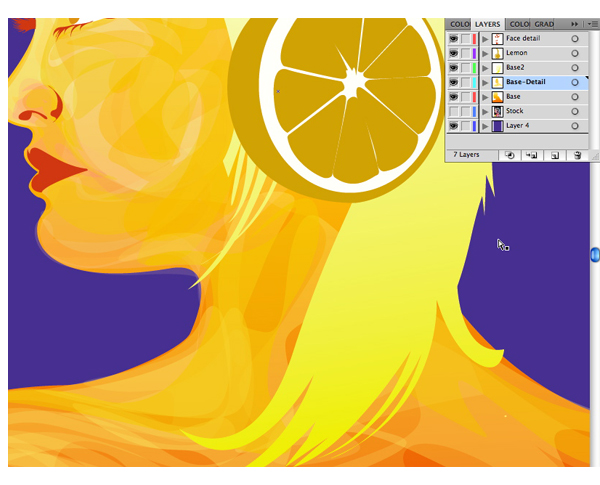
Step 10
Do the same with the neck and the shoulders. You can hide the “BASE” layer to make the stock photo visible. Through this, you’ll be able to follow the light and shadows of the image. Use this as your reference in choosing your colors.
Step 11
Above the “FACE-detail” layer, create another one and name it “LIPS.” Start creating shapes following the contour of the lips, and add white for the highlights. See the image below for reference.

Step 12
Now we will add more details to our lemon headphones. Create a new layer above the “LEMON” layer. Using the Ellipse tool create circles around the headphone and create droplets. Put white highlights afterwards. You can create your own desired details for the headphones as well.
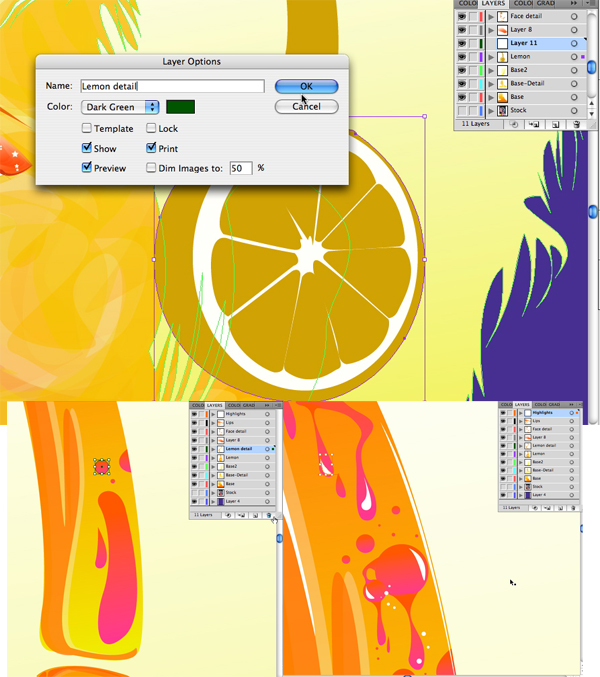
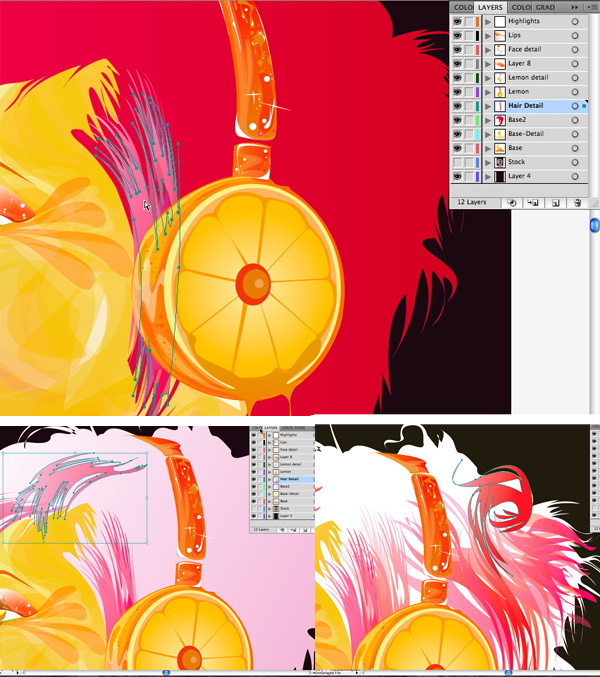
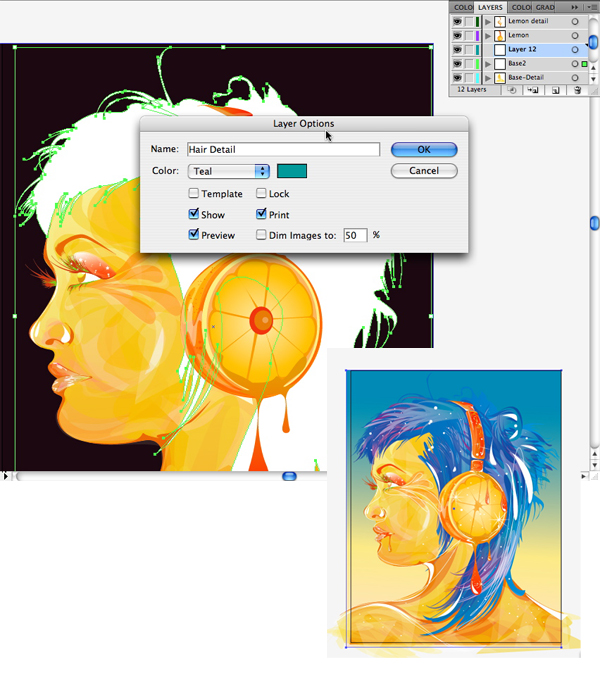
Step 13
Now we’ll add details to the hair. This might take more time to finish if you really wanted to give that hair a lot of details. Above the “BASE2″ layer, I made the “HAIR-detail” layer and started tracing the strands of the hair from out stock image using the Pen Tool (P). You may want to experiment with the colors further. In this, I tried to use pink, but later changed it to match with the skin.
Step 14
Now let’s add the background. Create a new layer below our image using the Rectangle Tool (M), which fills the canvas, and color it with a gradient of your choice.
Step 15
Now we’re almost finish with our portrait. Let’s add more details and highlights using the Pen Tool (P), and draw small shapes scattered on our image to create a glittery effect.
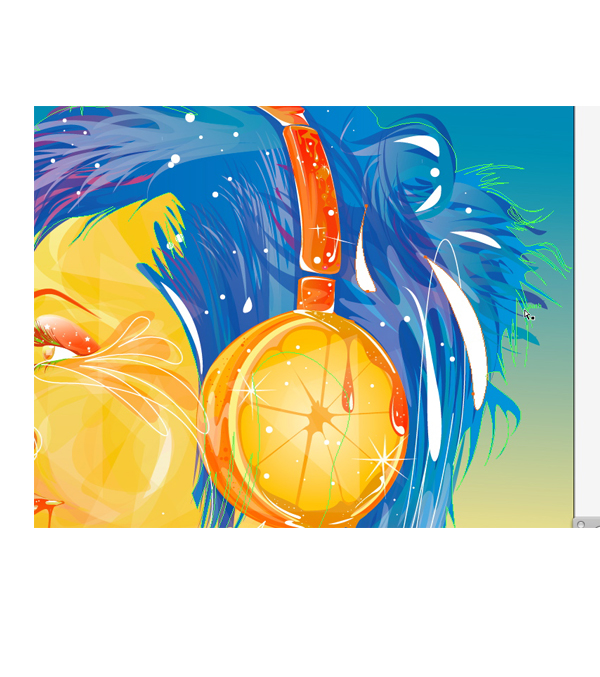
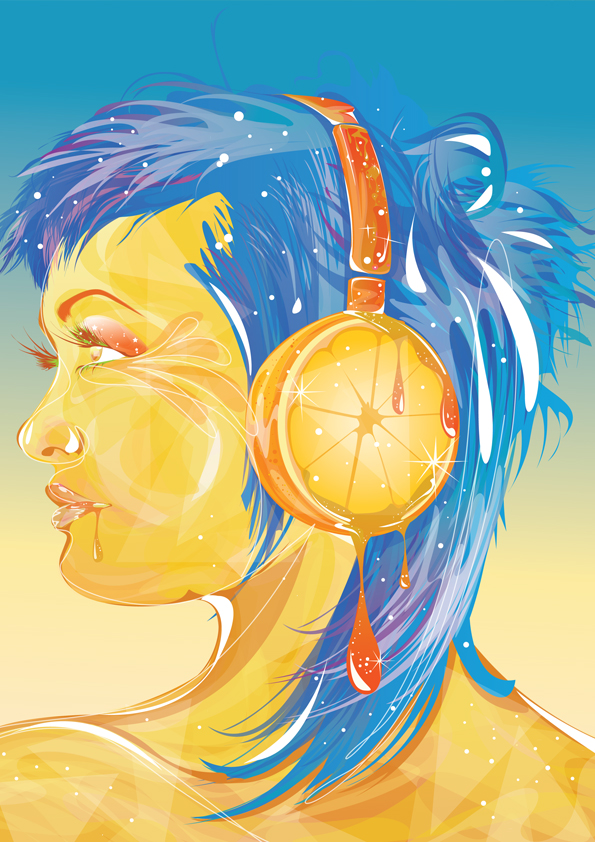
Final
With just a few Illustrator commands such as the Pen Tool and playing with transparencies, you were able to create a dazzling illustration. You only have to play with your imagination and let go of your creativity. Now share your work on your favorite online art community. The final image is below.

No comments:
Post a Comment