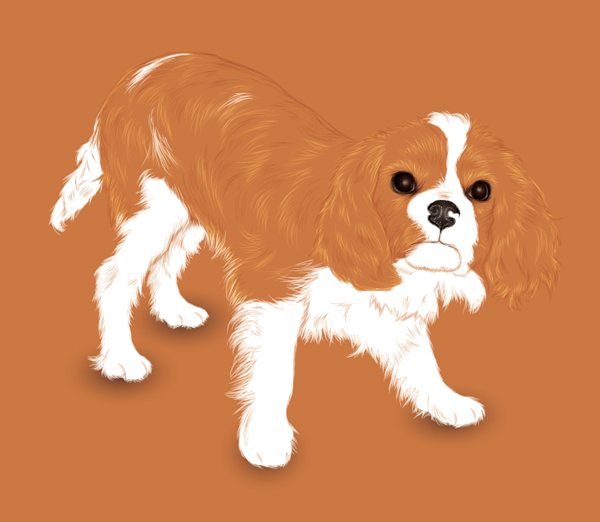
Today I’m going to show you how to create a quick illustration of a puppy using negative space and the ever so versatile Paintbrush Tool (B). I recently became the proud parent of a Blenheim colored Cavalier King Charles Spaniel puppy (named Shelley!) and couldn’t help creating a quick vector of her. One of the key characteristics of her is her lovely red and white coat and these two colors gave me an idea.
Similar to the Adobe Illustrator orange, it would be nice to do an illustration using her color tones that integrate into an orange background. Due to this, it would require little additional detailing as your mind would make up the rest of the illustration. So let’s get cracking then…
Step 1
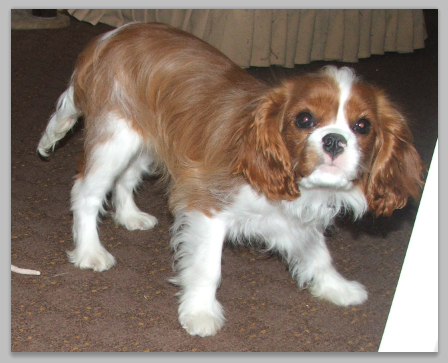
Select your favorite photo of your pet and open it in Photoshop. Below is the starting photo I have of Shelley:
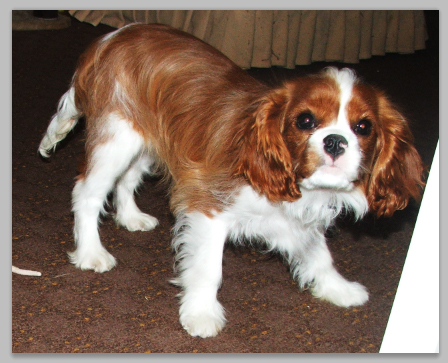
To make it easier to work from, I’m going to increase the contrast. So go to Image > Adjustments > Curves and select “Strong Contrast” from the preset drop down menu. What this will do is exaggerate the shines and shadow in the fur. This is good for those who want some assistance from their stock image to work on fur direction and highlights. Once done, Save for Web & Devices with a width of about 800 pixels.
Step 2
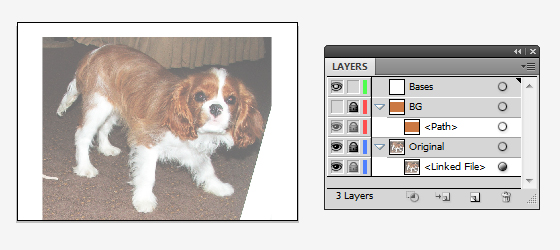
In Adobe Illustrator, start a New document and File > Place the reference on the artboard. Create a New Layer and using the Rectangle Tool (M) draw an orange/red rectangle across the canvas. If your pet is of a different color, this rectangle should be the most prominent shade. Create a New Layer and rename the layer folder “Bases.”
Step 3
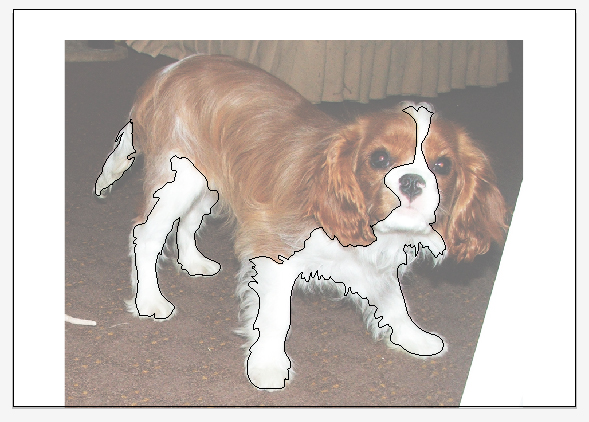
Since I’m using orange as the prominent color, I’m going to use a white fill and the Pen Tool (P) to create the base objects of the fur. Draw these shapes within the boundaries of the fur, but not right up to the edges. Where the fur is shortest, the edge of the shapes can be closer to the boundaries of fur, as you won’t be drawing as many strands of fur. With the areas where the fur is longer, the edges of the shapes will need to be further away from the boundaries of the fur.
Step 4
I’m going to be using the Paintbrush Tool (B) and my Width Profile brushes to render the fur. In this instance, I’ll be using the “Width Profile 1″ brush.
Draw strands of fur with a 2pt Stroke Weight and 50% Opacity around the edges of the bases where the white fur overlaps onto the orange.
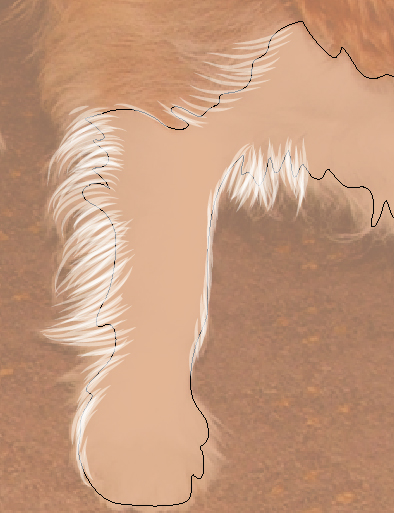
Overlap the strands of fur until the edges of the base objects are distorted and you wouldn’t be able to make them out. As with all strands of fur, Group (Command + G) them so to keep the same appearance settings together.

Step 5
The key areas with the orange fur overlapping onto the white are the ears, the back leg and on the tail.
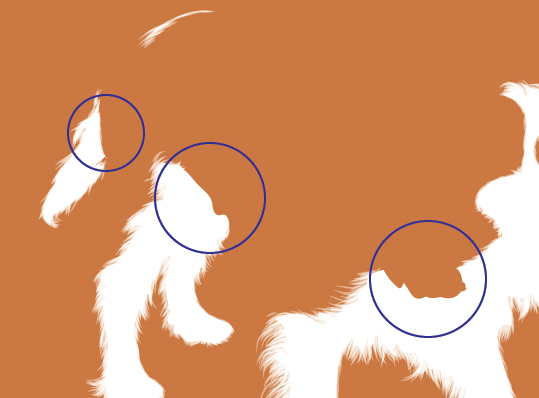
Using the same Paintbrush Tool (B) settings (yet with an orange stroke color), add the strands of fur over the above circled areas.
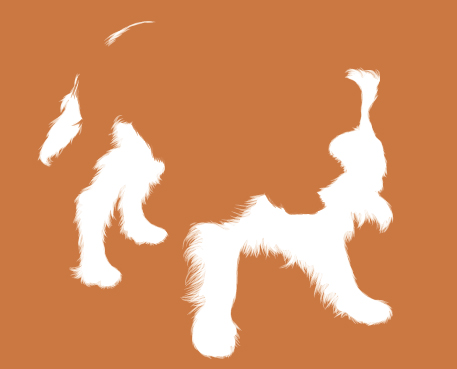
Step 6
Change the Stroke Weight to 1pt and use the orange stroke color to begin adding highlights of fur on the coat. These strokes will also help to add shape to the face and ears. Set these strokes to Blending Mode Screen and 30% Opacity.
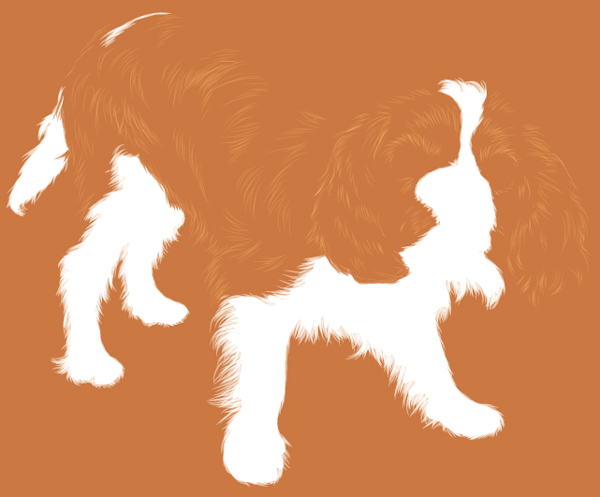
Step 7
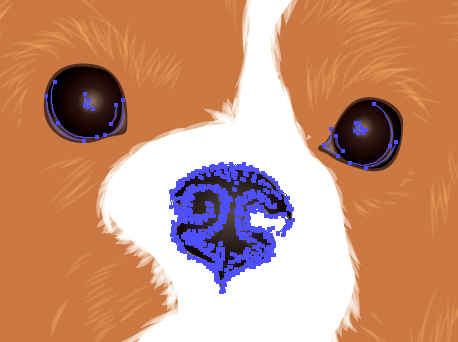
Create a New Layer and rename it “Face.” I’m going to draw shapes for the eyes and the surrounding of the eye, as well as the nose. Two shapes for each area.
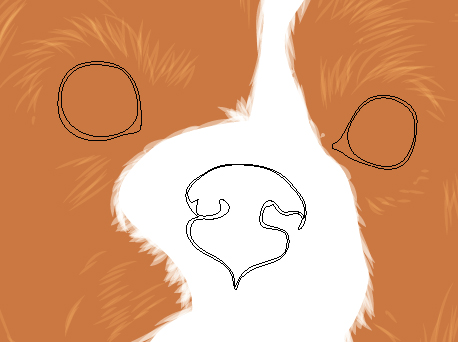
Fill the outer shape with a dark brown set to Blending Mode Multiply and the smaller shape with a fill color of a black to dark brown to dark brown transparent radial gradient with the source at 0% Opacity. Set the Blending Mode for this shape also at Multiply. Use the Gradient Tool (G) to change the location of the source to where the light is being reflected.
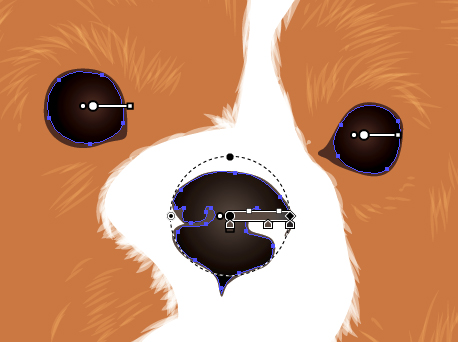
Step 8
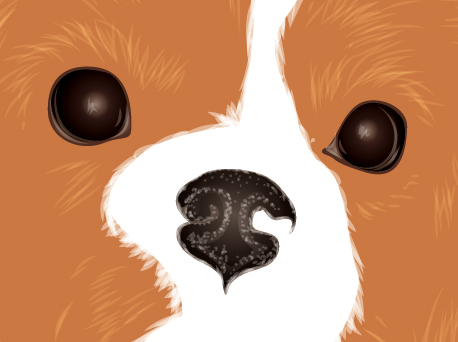
With a white transparent radial gradient, add further highlights to the eyes and nose. Set these shapes to 20% Opacity.
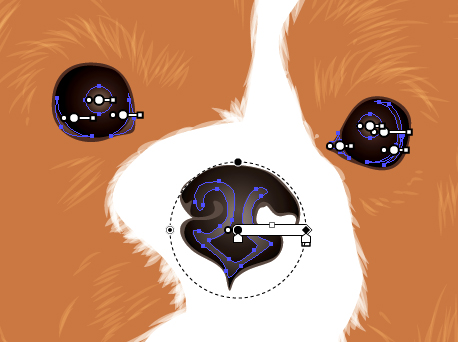
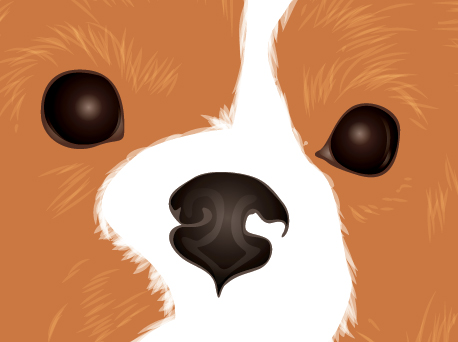
Step 9
Add sparkles of light to the eyes and nose to add texture by using a white stroke color and a Stroke Weight of 1pt with the Width Profile 1 brush. Set these lines to 20% Opacity.
Step 10
Create a New Layer and rename it “Fur 2.” Back to the Paintbrush Tool (B) and drawing fur, I’m going to add some depth with the orange stroke color, 1pt Stroke Weight and Blending Mode Multiply at 20% Opacity.
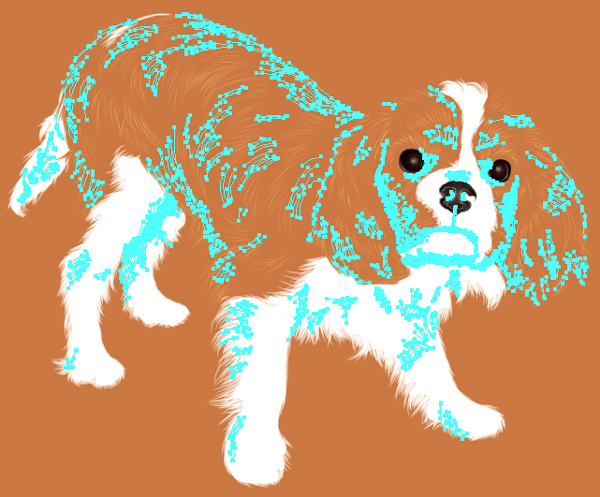
Add strokes along the boundaries of the body to help the viewer see the whole of the dogs form, as well as adding strokes to help define the two back legs. Add strokes around the ears and eyes to help define them.
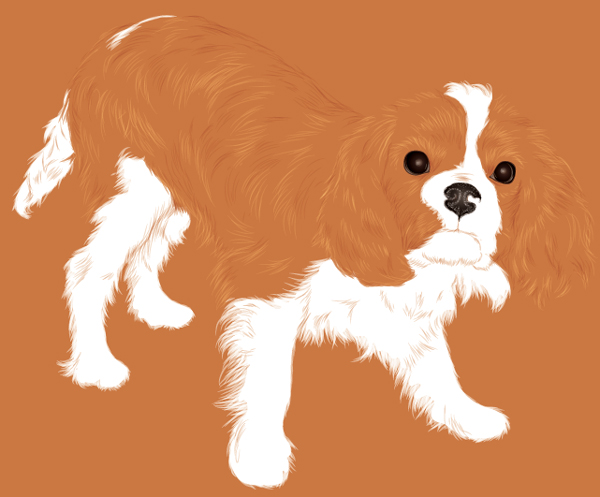
Step 11
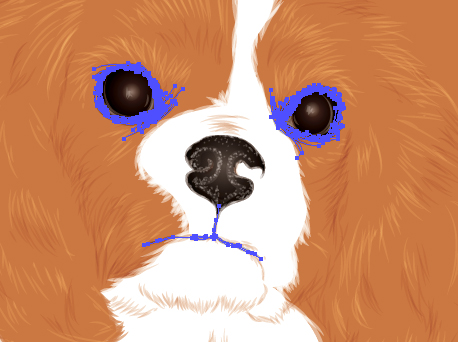
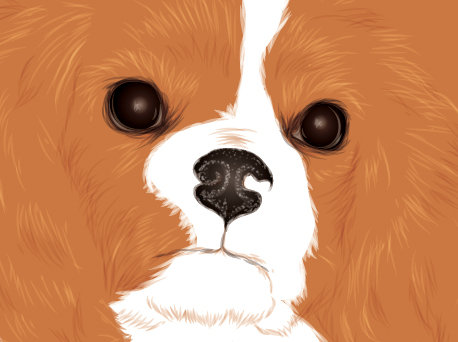
In “Fur” add dark brown strokes around the mouth and eye areas. Cavalier King Charles’s as well as other dogs have tear stains in the corner of their eyes. Set these strokes to Blending Mode Multiply and Opacity to 30%.
Step 12
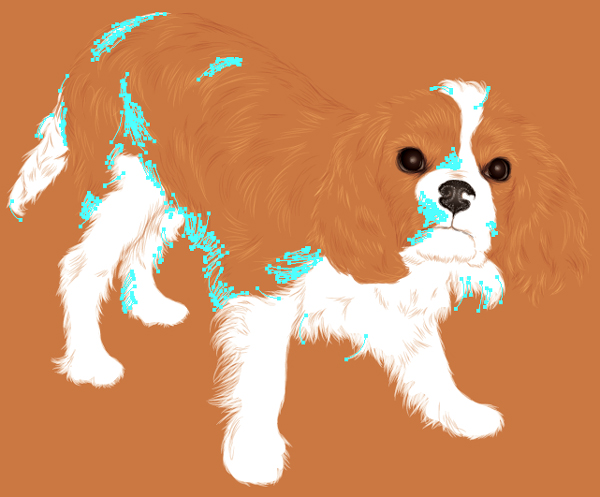
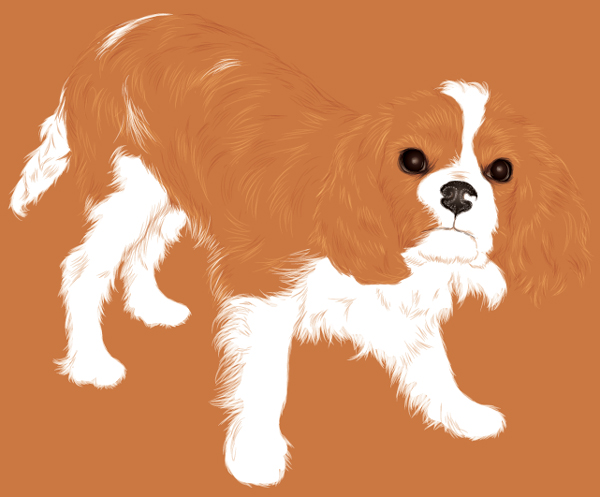
Back in the “Fur 2″ layer folder, add additional white strokes with a Stroke Weight of 1pt and 50% Opacity. These strands should help give more definition to the under belly (which is actually white fur) and random, less dense patches of white fur.
Step 13
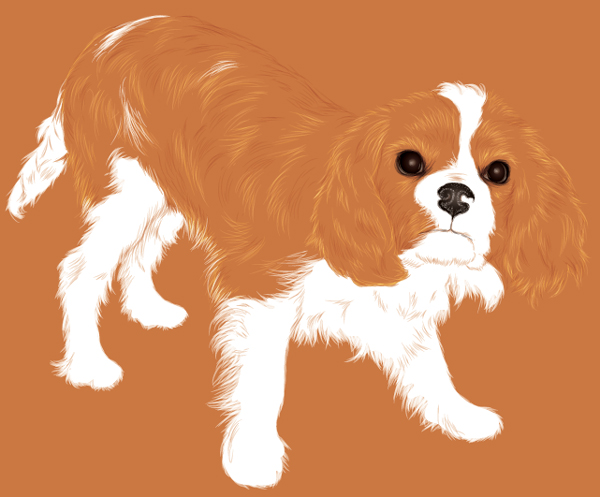
To add further golden tones to the fur highlights, add orange 1pt strokes with a Blending Mode of Color Dodge and Opacity 30%.
Step 14
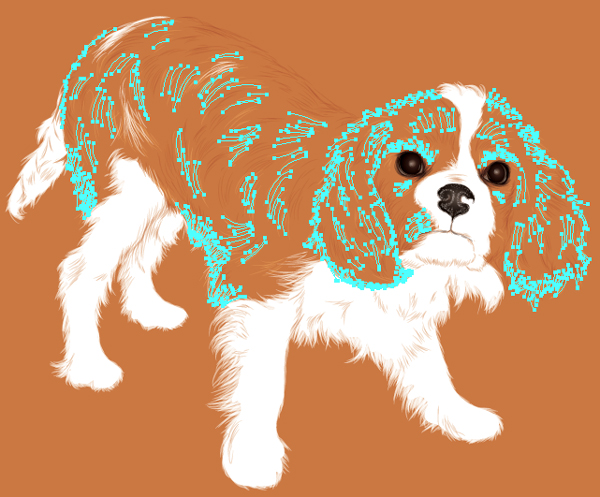
To add final definition to the sections of the dog, add 3pt orange strokes around the areas of the body. Set these to Blending Mode Multiply and Opacity 25%.
Step 15
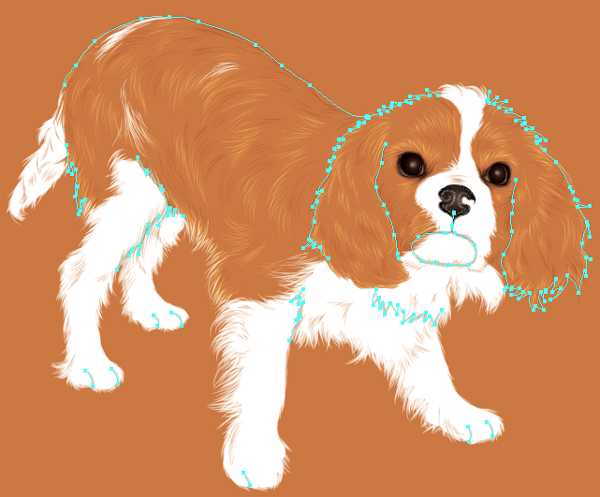
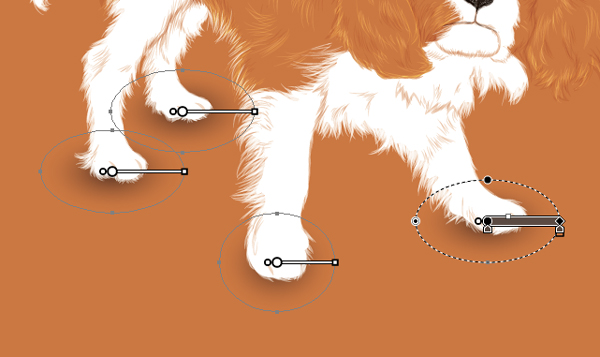
Finally, Create a New Layer above the “BG” layer and rename it “Shadow.” Add a dark brown, transparent, radial gradients under the paws to create a subtle shadow. Set these to Blending Mode Multiply.
Conclusion
Using a limited palette and some key colors, you too can create a negative space pet illustration with the help of the Paintbrush Tool (B) to add texture for the fur.
No comments:
Post a Comment